Photo by © cinnamonellie
Picking Japanese plums, making umeshu plum wine and umeboshi pickled plums: tips & process
Related Article
-

Japanese Train Fanatic Builds Extremely Life-Like Train Carriage Room In His House!
-

These Stretchable Mini-Shiba Inu Faces Are The Best Stress Reliever Ever
-
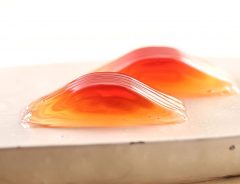
Graceful umeshu plum wine jelly is inspired by a sunset from classical Japanese poetry
-

Japanese Trend of Smoothing Foil Balls Into Perfect Spheres Is Beautifully Satisfying
-

Japanese designer invents Spidey-style wrist gadget which shoots plastic shopping bags
-

Chivalry Regal: Japanese Papercraft Artist Turns Whisky Packaging Into Awesome Knight Figure


This year has been quite full of events and collaborations, and I had many opportunities to meet many people and discover even more of Japan’s traditions.
Earlier this summer, I was asked if I would like to pick plums by the same person who invited me to dig up bamboo shoots (read about it here).
I like Japanese cuisine, and I always wanted to try making my beloved pickled plums (梅干し umeboshi) and try my hand at making plum wine (梅酒 umeshu), too.
Picking ume plums
Photo by cinnamonellie
My husband and I arrived early in the morning. The weather wasn’t as good as expected. The summers here are humid and hot. That particular day, it also started raining. I remember I was hot and felt sticky, but also a bit tired from moving around with all the necessary utensils and the umbrella.
However, I was so excited about the whole experience and grateful to have this opportunity that I didn’t care about the tiny inconveniences.
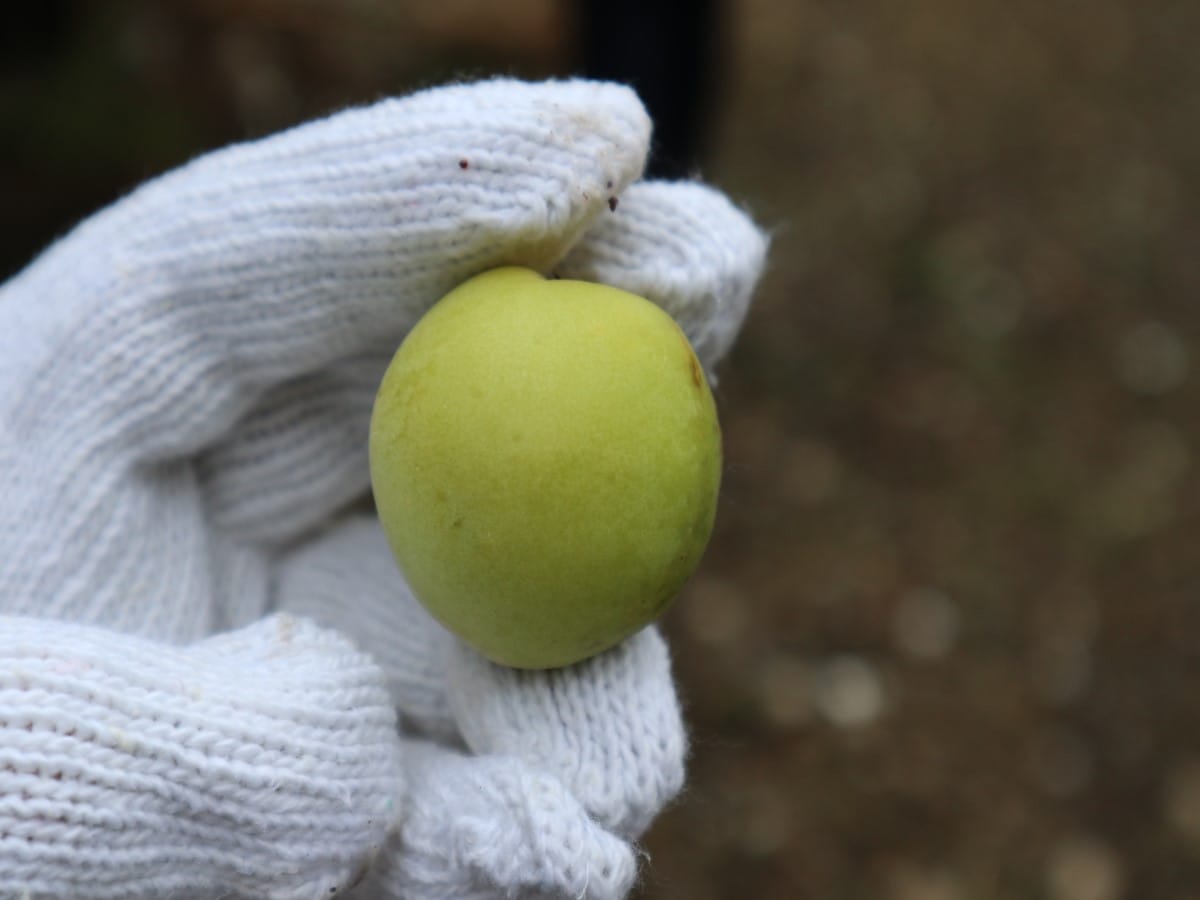
We had to wear gloves because there were lots of insects around, and after taking our bags, we first started picking the plums to use for the plum wine.
Photo by cinnamonellie
For the umeshu, we picked the green plums, still unripe, directly from the trees. In case you're wondering, this fruit is the Japanese plum, also known as the Japanese apricot or the Chinese plum, scientific name Prunus mume, and numerous cultivars exist throughout Japan.
For umeboshi, we went for the yellow type that fell on the ground. We had to be careful when choosing the plums and look to see if there were any blemishes.
The plums also turn yellow if you leave them a couple of days, but you’ll need to be careful that they don’t get moldy.
For anything you make, be it plum wine, pickled plums, plum juice, etc., you will first have to remove the stems of each plum. In my opinion, that was the most exhausting part of the whole process.
What do you need to make plum wine?
Photo by cinnamonellie
First, you need to gather all the ingredients. Besides the green ume plums, you will need white rock sugar, a couple of liters of a distilled spirit such as 焼酎 shōchū or vodka above 35% in alcohol, and a glass jar. I bought special 2 liter jars specifically intended for making fruit liquor but you can use other jars.
The next step is washing and drying the plums (after removing the stems with a toothpick).
Photo by cinnamonellie
I also left them in water for around 3 hours and double-checked to see if there were any scars, blemished parts, or holes (do not use the ones that are brown or have any types of blemishes as they might get moldy and affect the rest of the plums, too).
After finishing with the plums, you will need to disinfect the jar. I recommend pouring boiled water into it after thoroughly washing it. After that, air dry it (make sure it is dried inside, too), and wipe it with a bit of the distilled alcohol you chose to use for the plum wine.
Photo by cinnamonellie
Then, it's time to move on to the sugar. You will need to put the plums in one layer, then sugar on top. Repeat the process until you finished adding ingredients (plums and sugar), then fill it with the liquor of your choice.
I chose to make one umeshu that is sweeter, so I put more sugar in one jar than the others. For the liquor, I went for the White Liquor GODO (available at Amazon.co.jp here). It also had the quantities written on the package and made things a lot easier when making it.
Photo by cinnamonellie
I made a couple of jars, and for one, I used 350 g of ume plums, 300 g of rock sugar, and around 700 ml of liquor. You can try adding more or less sugar, depending on your preference, too.
Don’t forget to write the date and store it in a dark place for half a year to one year (but not in the refrigerator!). As it’s summer and it's humid and hot all around the house, I looked to see if any plums got moldy or too soft (although it usually doesn’t happen if you put it in shōchū). I've also been taking the jars and turning them up and down a couple of times every day.
Making umeboshi pickled plums
For pickled plums, you will need the yellow-ish ripe plums, also known as kanjuku ume 完熟梅. If you have green ones, you can leave them for a couple of days at room temperature until the color changes.
Make sure to check the plums daily to be sure they don't get moldy (especially if the place you live in has high humidity).
In addition to plums, you will need sea salt (粗塩 arajio) for pickling, and red shiso (Perilla frutescens var. crispa) leaves (赤紫蘇 akajiso) to give them that beautiful red color.
First, you will need to remove the stems and let the plums sit in water (I used rice water) for a couple of days (while checking regularly!). When the water becomes clear, rinse the plums and dry them well.
For around 5 kg, I used 1 kg of salt to pickle them. I usually leave them up to 4-5 days, but you can also leave them for around seven days.
The long process of making umeboshi
I put them in a jar with salt and check them to see how it looks every day (the smell is divine!).
The next step is adding the red shiso (only after you've rubbed the leaves with salt and repeated that a couple of times until they are clean and insect-free).
I rubbed the leaves with salt one last time and squeezed everything into a bowl. I then dipped the plums into the pink-ish juice and repeated the process for all until they turned a bright pink shade. I then spread the shiso on top of the plums and left it for a couple of weeks until the rainy season ended. Lastly, I left the plums to dry in the sunlight until they turned into the familiar red color of the umeboshi.
It is quite a long process, but definitely worth the time!
Also, with the remaining plums from the plum wine, you can make jam or cocktails after six months to one year has elapsed.
The ume plum has many benefits for your health, so if you have the time, I genuinely recommend trying to make a few of the traditional Japanese recipes made with them.