- Tags:
- lifehack / Lunch Pack / sandwich pockets / Sandwiches / sealed sandwiches / shokupan
Related Article
-
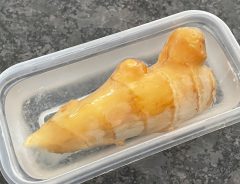
“Why didn’t anyone tell me sooner?” A life-saver for preserving ginger
-

[Lifehack Japan] Unique Ways To Store And Use Vegetables
-

Japanese convenience store FamilyMart makes its sandwiches better inside and out
-

These fruit sandwiches were ranked as the favorite backstage snack in Japanese showbiz
-
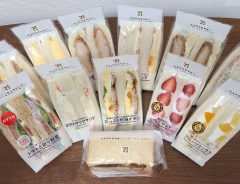
A guide to the delicious sandwiches of 7-Eleven Japan
-
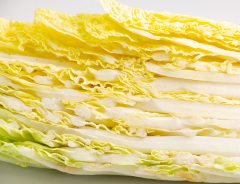
How to turn Napa cabbage into an awesome easy dish with just one ingredient


Japanese sandwiches
Many first-time visitors to Japan who buy a sandwich in a Japanese convenience store are surprised to discover that the crusts are missing.
Japanese sandwiches are typically made with fluffy, white milk bread, known as shokupan 食パン, and baked into square loaves.
While some convenience store sandwiches may have crusts still attached, there's one brand of sandwich that never does, and that's the ランチパック "Lunch Pack" series from Yamazaki Baking Co., Ltd., a long-running bestseller since 1984.
As you can see in the photo below showing the peanut-flavored version, these sandwiches are pressure-sealed on all four sides.
毒島みるく, CC0, via Wikimedia Commons
Lunch Pack is readily available at convenience stores and supermarkets. Just the right size for breakfast or a quick snack, they're very popular, with new flavors coming out all the time. The sealed form-factor is very convenient since it helps prevent the contents from spilling out.
Make your own Lunch Pack-style sandwiches
We would like to introduce a quick lifehack for making your very own "Lunch Pack-style" sandwiches at home, without any specialized equipment or tools.
In this case, they're smaller than the usual size, so you can serve them as appetizers, have them as finger food, or even give them to small kids since they're fun and easy to hold.
What you'll need
Photo by Grape
Spread a thin layer of the filling on one slice of bread. Be careful not to apply too much here, or the filling will spill out when cutting the bread into small pieces.
In this case, we decided to make it with honey.
Sandwich it with another slice of bread, wrap it in plastic wrap, and microwave it for 10 to 20 seconds. When it's warm (not hot) and soft to the touch, you're ready for the next step.
Photo by Grape
Using a chopstick, press down along the four sides of the bread as shown in the photo above to make the bread stick together. Work as soon as the bread has warmed up, since the slices are less likely to stick together when they cool down.
Photo by Grape
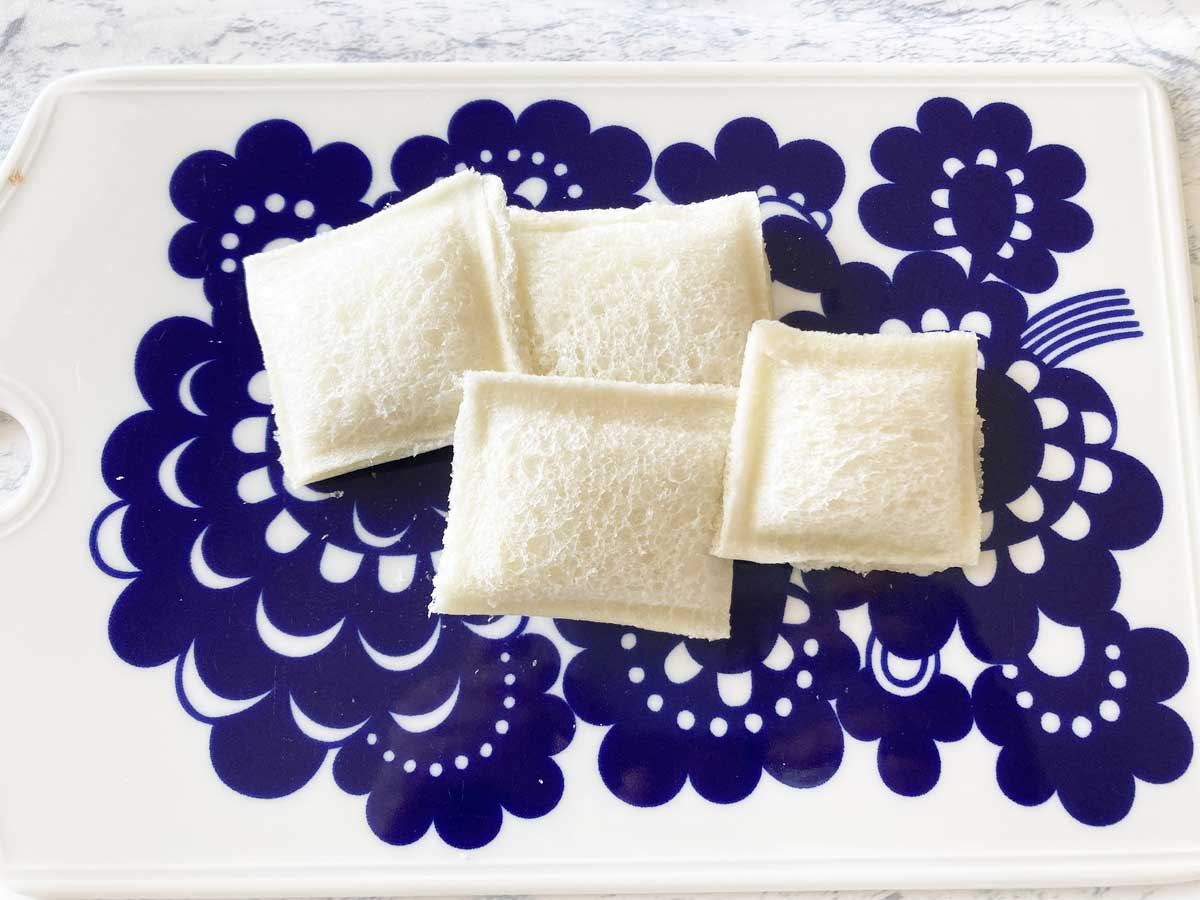
Using the same method as you did for the four sides, make additional lines to create the size you desire. In this case, we made quarters.
Once the bread slices are well sealed, cut the sandwich along the lines with a kitchen knife to separate them.
Photo by Grape
You're done!
We recommend smooth fillings so the sandwiches are easy to cut apart.
Why not make these cute mini sandwiches when you can afford to take a little extra time?
Since they're sealed, they're easy to take along and enjoy wherever you go.